How to Install FFmpeg for Audacity
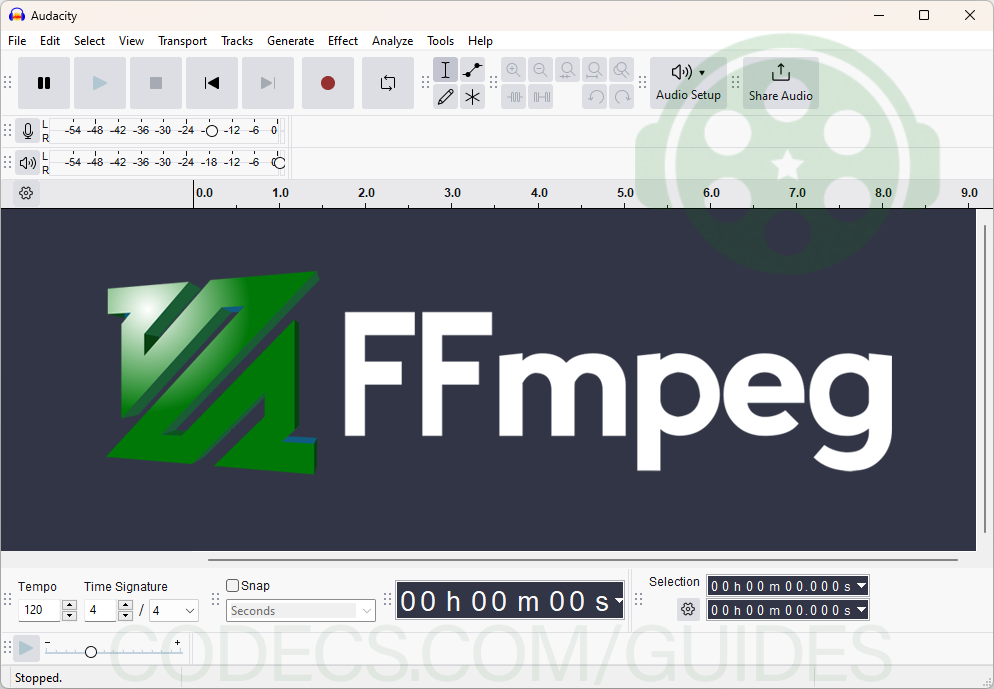
Audacity is a powerful, open-source audio editing tool used by professionals and hobbyists alike. However, by default, it may not support all audio formats. FFmpeg is a versatile multimedia framework that expands Audacity's capabilities, allowing it to handle a wider variety of audio formats.
To work with a wider range of audio formats in Audacity, you need to install FFmpeg. Here’s a simple guide to help you set it up!
Step 1: Download FFmpeg
Download and run the installer.
For Windows:
Download FFmpeg 5.0.0 for Audacity for 32-bit Windows or Download FFmpeg 5.0.0 for Audacity for 64-bit Windows
For macOS:
Download FFmpeg 5.0.0 for Audacity for macOS
Note: FFmpeg is compatible with Audacity versions 3.x.
Step 2: Link FFmpeg to Audacity
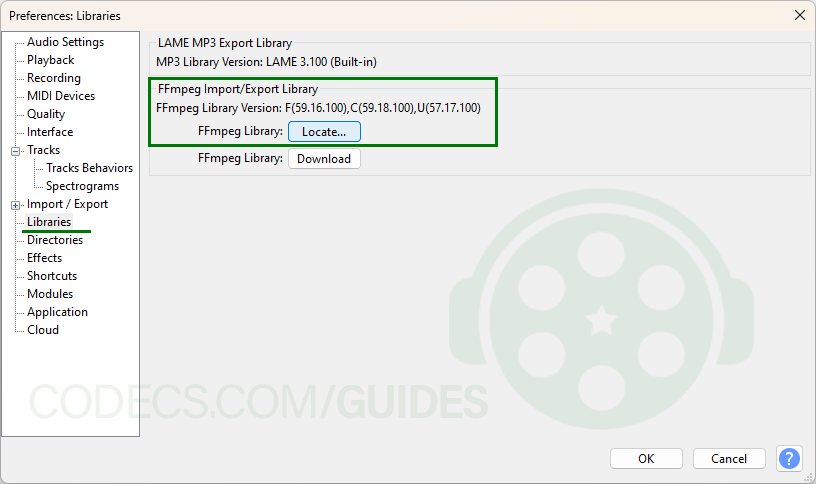
Open Audacity and go to Edit > Preferences (or Audacity > Preferences on macOS).
In the Libraries tab, click Locate next to FFmpeg.
If not automatically detected, browse to find the avformat-55.dll (Windows) or libavformat.dylib (macOS) file in the FFmpeg for Audacity directory.
Click OK to confirm.
With FFmpeg installed and linked, you can now handle more audio formats in Audacity!
Note: If you haven’t downloaded Audacity yet, get started by downloading it from Codecs.com: download Audacity. Enjoy editing your audio with expanded format support!


