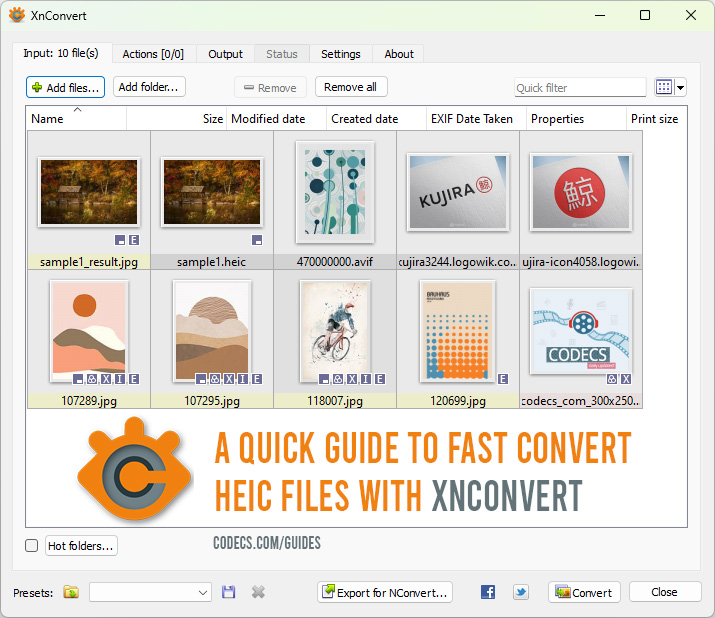
A Quick Guide to Fast Convert HEIC Files with XnConvert
XnConvert is a versatile and user-friendly tool that allows you to convert HEIC files to various formats quickly and efficiently.
Whether you need to convert HEIC images to JPEG, PNG, or any other supported format, XnConvert provides a straightforward solution for users across different platforms.
In this guide, we'll walk you through the simple steps to convert HEIC files using XnConvert, enabling you to seamlessly transform your images to the desired format with ease.
Download and Install XnConvert:
Start by downloading and installing XnConvert. Download XnConvert now and after installation, launch XnConvert from your desktop or application folder.
Add HEIC Files:
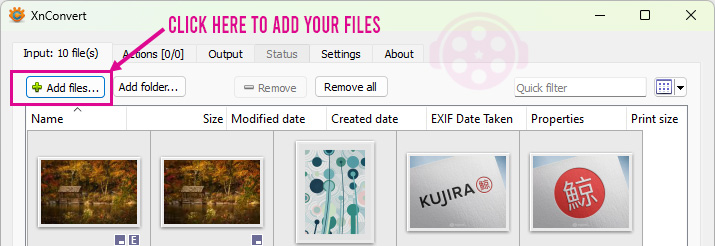
Click on the "Add files..." button or drag and drop your HEIC files directly into the XnConvert window.
Choose Output Folder:
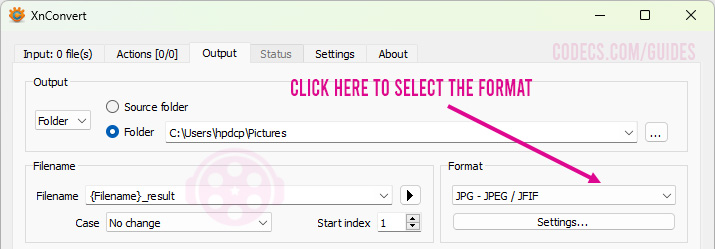
Specify the output folder where you want the converted files to be saved. You can do this by clicking on the "Output" tab and selecting the destination folder.
Select Output Format:
Choose the output format for your converted files. You can do this from the same "Output" tab and selecting your desired format from the dropdown menu. For example, you can choose JPEG, PNG, or any other supported format. In our case, select HEIC - HEIF.
Adjust Conversion Settings (Optional):
Optionally, you can adjust conversion settings such as quality, resizing, and other parameters by clicking on the "Actions" tab and selecting the desired actions.
Start Conversion:
Once you've configured the conversion settings and chosen the output folder, click on the "Convert" button to start the conversion process. XnConvert will then convert your HEIC files to the selected output format.
Check Converted Files:
After the conversion is complete, you can navigate to the output folder to view your converted files. They will now be in the format you selected during the conversion process.


